Introduction
Gel blasters are popular recreational toys that simulate the experience of using real firearms. These battery-powered devices shoot small, water-filled gel balls and provide hours of fun for enthusiasts. However, to keep your gel blaster running smoothly, it's essential to know how to properly charge its battery. In this step-by-step guide, we will walk you through the process of charging a gel blaster.
Step 1: Gather the Required Materials
Before you begin charging your gel blaster, make sure you have the following materials:
- A gel blaster with a rechargeable battery
- A compatible charger
- A power source (wall outlet or USB port)
Step 2: Check the Battery
Inspect the battery of your gel blaster for any signs of damage or wear. If you notice any leaks, cracks, or other abnormalities, do not attempt to charge the battery. Instead, contact the manufacturer for assistance.
Step 3: Connect the Charger
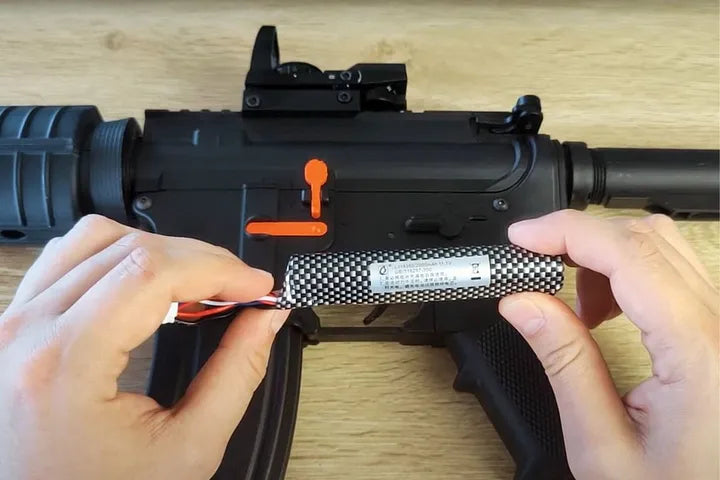
Connect the charger to the gel blaster's battery. Ensure that the charger's connector matches the port on the gel blaster. It's crucial to use the correct charger to prevent damage to the battery or the gel blaster itself.
Step 4: Connect to a Power Source
Plug the charger into a power source, such as a wall outlet or a USB port on your computer. Make sure the power source is stable and reliable. Avoid using extension cords or power sources with fluctuating voltage, as they can affect the charging process.
Step 5: Charging Indicator
Most gel blaster chargers have an indicator light that shows the charging status. The light may turn red or green, depending on the charger model. Red usually indicates that the battery is still charging, while green signifies a fully charged battery. Refer to the charger's manual for specific instructions regarding the indicator light.
Step 6: Charging Time
The charging time for gel blaster batteries can vary depending on their capacity and the charger's output. As a general guideline, it is recommended to charge the battery for approximately 2-3 hours. Avoid overcharging the battery, as it can reduce its overall lifespan.
Step 7: Disconnect and Test
Once the battery is fully charged, disconnect the charger from the power source and the gel blaster. Carefully remove the charger's connector from the gel blaster's port. Now, it's time to test your gel blaster to ensure it is functioning correctly.
Conclusion
Charging your gel blaster correctly is crucial for maintaining its performance and longevity. By following this step-by-step guide, you can ensure that your gel blaster's battery is charged safely and efficiently. Remember to always refer to the manufacturer's instructions for specific charging guidelines and precautions. Now, go out and enjoy your gel blaster adventures!

